
Table of Contents
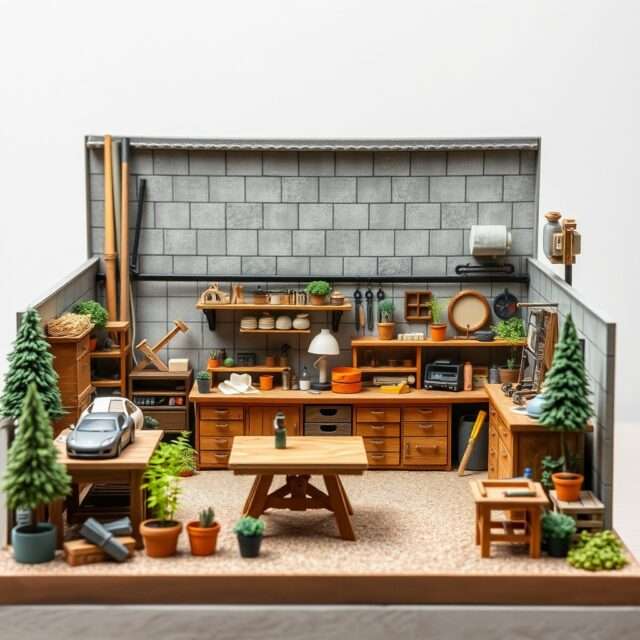
Creating a home hobby workshop for plastic modeling can significantly improve your hobby experience by providing a dedicated location for creativity, organization, and efficiency. Here’s a step-by-step guide for setting up your own plastic modeling workshop.
A Home Hobby Workshop for Model Kit Builders
Step 1: Selecting the Right Space
Location for a hobby workshop: Room/Area: Choose a quiet work space. It should have adequate illumination, preferably natural light, but also enough artificial light.
- Size: Make sure there’s enough room for your tools, materials, and projects in progress. A solid work area is required; a desk or strong table is excellent. Step 2: Set Up Your Workbench.
Use a strong workbench or table with a nice, flat surface to create models on. A cutting mat protects the surface while also providing measuring markings.
- Height is vital; the table should be at an appropriate height for seated or standing work. Step 3: Organize Tools and Supplies
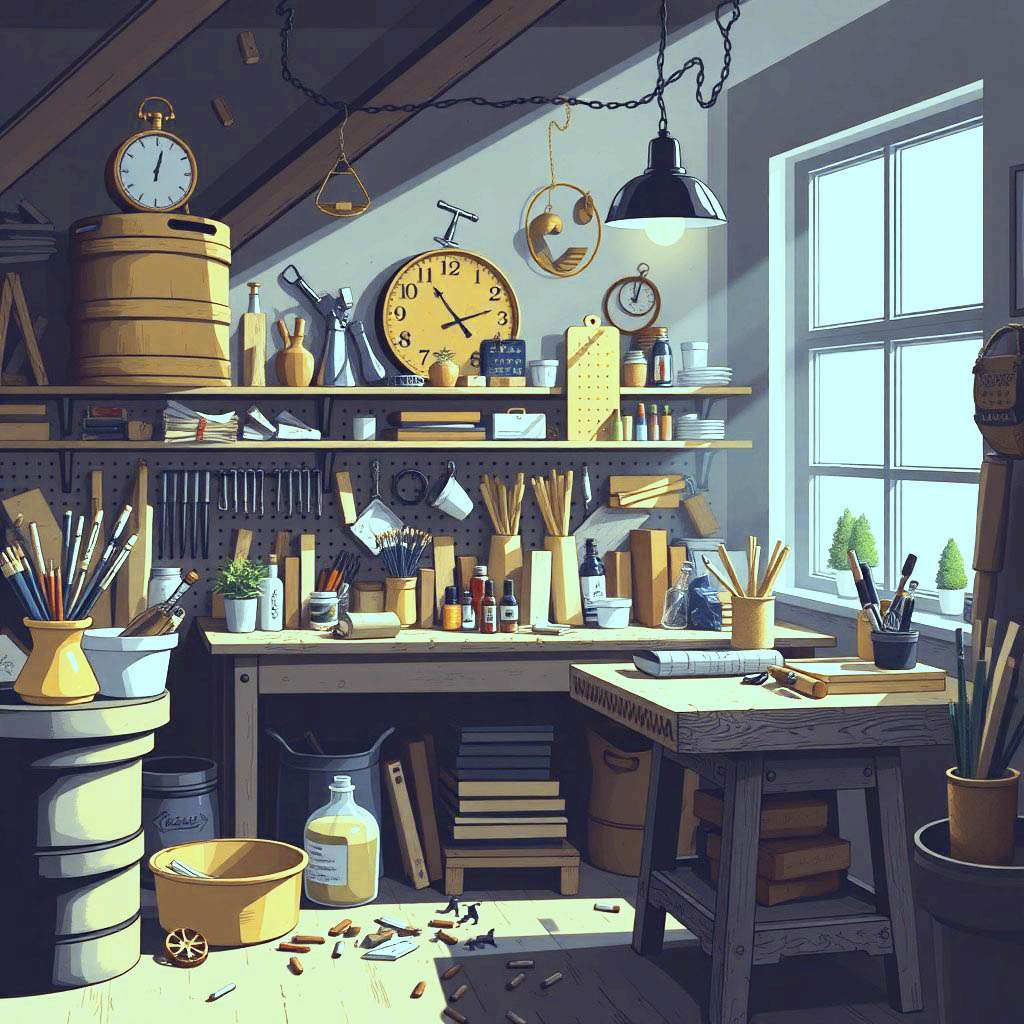
The Hobby Workshop
Storage solutions include toolboxes for hand tools like knives, files, and brushes, and small drawers for screws, pins, and other small parts.
- Shelving Units: Install shelves to store larger supplies such as paint, glue, and unbuilt model kits.
- Carts: A rolling cart might be useful for keeping frequently used supplies nearby.
Essential tools include an X-Acto or hobby knife with interchangeable blades.
- Tweezers to handle small pieces.
- Sprue cutters or flush cutters
- Files and sandpaper to polish edges.
- Paintbrushes of various sizes.
- A ruler, measuring tape, and calipers for precision. Step 4: Lighting and ventilation.
To prevent eye strain, utilize bright, adjustable task lighting focused on your work area. LED lamps with adjustable brightness and color temperature can also provide excellent visibility.
Proper ventilation is essential when using spray paints or solvents in the workshop. For adequate airflow, consider using a modest fan or opening a nearby window.
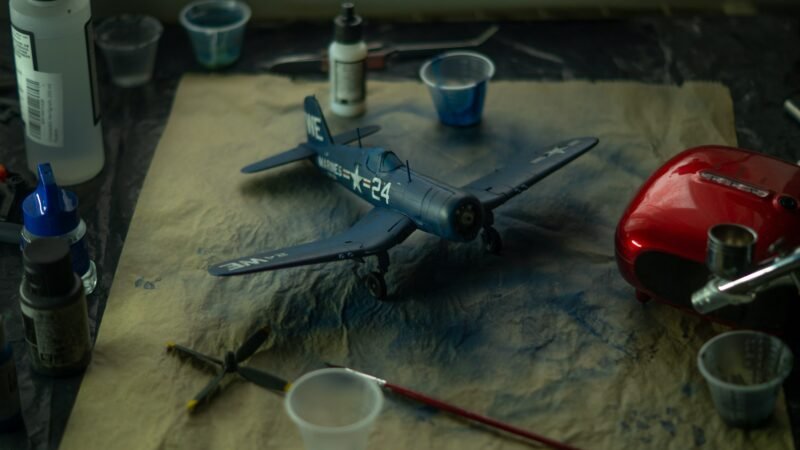
Step 5: Paint and Finish Area
Create a dedicated painting and finishing area at your hobby workshop. Use newspaper, disposable tablecloths, or a drop cloth to cover surfaces. Consider using a spray booth or a basic cardboard box for airbrushing and spray painting to reduce overspray.
To store paints, put them in clear plastic containers or racks. Label them with color for easy identification.
Step 6: Reference Materials and Inspiration.
Storage for books and magazines in your hobby workshop: Keep modeling-related reference books, tutorials, and periodicals on a small bookshelf or magazine rack. This will be a useful resource for techniques, inspiration, and ideas.
Step 7: Personal touches in your hobby workshop.
Decoration and Motivation: Personalize your hobby workshop with posters featuring your favorite models or inspirational quotes. Display completed models to demonstrate your abilities and encourage you to make more.
Step 8: Set aside time for regular cleaning.
Maintain Organization: Establish a cleaning and organizing regimen for your hobby workshop. A clutter-free environment encourages creativity and helps you focus.
Step 9: Safety considerations in your hobby workshop.
To protect yourself from fumes and particles while working with paints and adhesives, purchase safety glasses, dust masks, and gloves.
- Keep a first-aid kit at the workshop in case of minor injuries.
Using these procedures, you may design a useful and inspiring home hobby workshop for plastic modeling enthusiasts. Customize the space to your tastes and guarantee that it evolves as your activity grows. Enjoy modeling! Step 10: Incorporate Technology
Use Digital Resources: – Consider integrating technology into your workspace. Online lessons, forums, and model-building software can all be accessed by tablet or computer. This might help you improve your skills and stay connected to the modeling community. Furthermore, using digital resources allows you to track your projects, share your progress, and even attend virtual workshops or live broadcasts hosted by skilled modelers.
Step 11: Join a community.
Networking Opportunities: – Join local or online modeling clubs to share advice, receive comments, and engage in challenges. This not only improves your skills through teamwork, but it can also make your interest more socially engaging. Connecting with like-minded people can bring inspiration, encouragement, and new ways to try, making your modeling experience more fun. Step 12: Document your progress.
Consider starting a journal or blog to document your modeling experience. Recording your experiences, tactics gained, and obstacles encountered can be a useful reference for future initiatives. Sharing your progress through images and written remarks not only helps you measure your progress, but it also allows you to connect with others who may be on the same path. Engaging with your audience may inspire conversations, provide useful insights, and even create mentorship opportunities as you both learn from one another.
Experiment and innovate.
To expand your creativity, don’t be afraid to experiment with new ideas. Trying new techniques, materials, or styles can provide unexpected and wonderful results. Allow yourself to be creative, whether that means experimenting with new color palettes or using mixed media components. This method can inspire your imagination and result in one-of-a-kind finished goods that distinguish your work. Accept the learning process that comes with exploration, and celebrate both your accomplishments and your mistakes as necessary components of your artistic development.


