Description
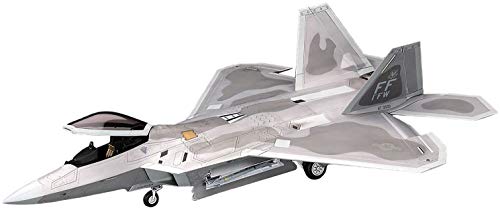
- Hasegawa F-22 Raptor "Stealth Fighter" USAF Plastic Model Kit – 1/48 Scale
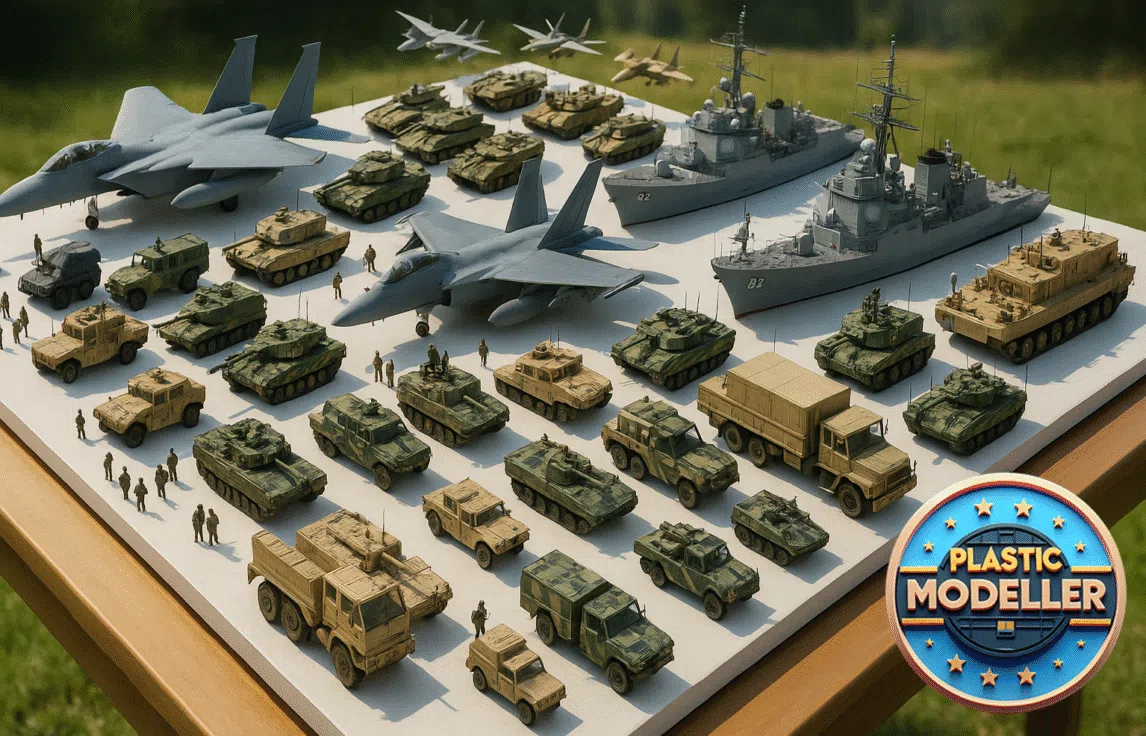
Showcasing a large selection of Scale Model Kits.


$69.00
Hasegawa F-22 Raptor “Stealth Fighter” USAF Plastic Model Kit – 1/48 Scale
| Brand | Hasegawa |
|---|---|
| Manufacturer | United Model, Inc. |
| Binding | Toy |
| Product Group | Home |
| Languages | , , , , , , , , , , |
| EANs | 5889332844507, 0798256818332, 4967834072459 |
| UPCs | 798256818332 |
| Item Part Number | 87955 |
| Model | HSGS7245 |
| Warranty | Upon Request |
| Color | Black |
| Is Adult Product | |
| Product Dimensions | 16.63 x 10.75 x 3.88 Inches |
| Item Weight | 1.76 pounds |
| Size | 0.5 Liters |
| Unit Count | 1 |