Table of Contents
Most beginners find joy in the intricate world of model building from plastic kits, but knowing where to start can be daunting. In this guide, you’ll discover vital steps and tips to help you initiate your model-building journey. From selecting the right tools and kits to mastering assembly techniques, you’ll equip yourself with the knowledge you need to transform plastic parts into stunning creations. Let’s explore the exciting process and help you bring your miniature vision to life!
Key Takeaways:
- Gather Materials: Collect all necessary tools, such as clippers, hobby knives, and glue, to ensure a smooth building process.
- Read Instructions: Carefully review the kit’s manual for assembly steps and guidance on paint and finishing techniques.
- Start Simple: Begin with easier kits to build confidence and gradually move on to more complex models as skills develop.
Understanding Plastic Kits
Your journey into the world of model building plastic kits begins with understanding the different components that come together to form plastic kits. These kits are pre-molded parts that require you to assemble them into a finished model, whether it’s a car, aircraft, or figure. The beauty of plastic kits modeling lies in the variety of kits available, each offering different complexities and detail levels that you can tailor to your skills and interests. Understand these kits because they’ll underpin your techniques.
Types of Plastic Kits
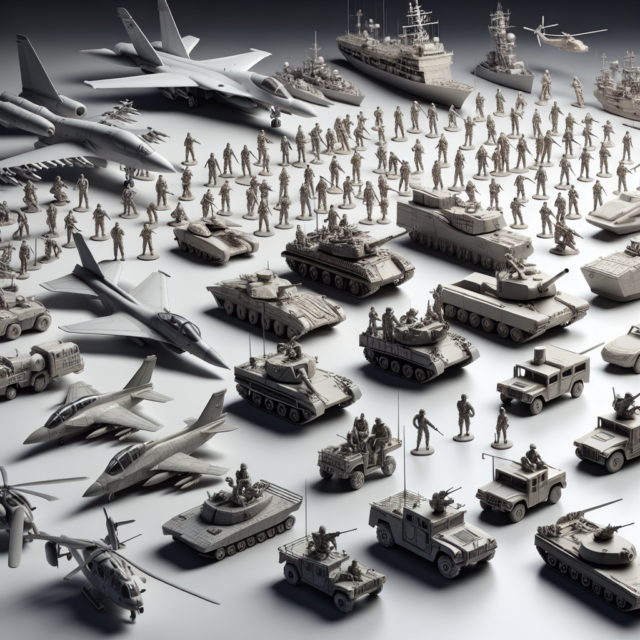
Based on size, complexity, and intended subject matter, we can classify plastic kits into several categories. Here are some commonly found types:
- Scale Models
- Snap-together Kits
- Glue Kits
- Wood and Plastic Model Combos
- Collector Models
Knowing the differences between these types of plastic kits allows you to select the one that best matches your preferences and skill level. Whether you are looking to start with a straightforward snap-together kit or probe a more intricate glue kit, understanding each type will broaden your options and make for a more fulfilling experience.
| Kit Type | Description |
|---|---|
| Scale Models | The models are highly detailed and replicate real-life objects in specific scales. |
| Snap-together Kits | The parts, designed for beginners, snap together without requiring glue. |
| Glue Kits | Glue is required for assembly, and detailed builds often feature more parts. |
| Wood and Plastic Model Combos | Incorporate both materials for added authenticity and texture. |
| Collector Models | Focus on accuracy and are often created for display rather than play. |
Choosing the Right Kit
Assuming you have a general understanding of the various types of plastic kits available, the next step is to choose the right one for you. Your choice should depend on your skills, interests, and the amount of time you are willing to invest in your project. Selecting a suitable kit can significantly affect your overall experience; for example, if you are a beginner, opting for a simpler snap-together model can help build your confidence. On the other hand, if you have some experience, a more complex glue kit might provide the challenge you’re looking for.
The wide array of plastic kits can be overwhelming, but breaking down your options into manageable categories will help you make a well-informed choice. Look for kits that resonate with your hobbies or favorite subjects, and consider the scale and detail level that matches your current skill set. It’s advisable to start with something that excites you but isn’t too intricate, as this allows for a pleasant introduction to the fascinating realm of plastic kits model building.
Essential tools and materials
It is important to have the right tools and materials at your disposal when initiating your plastic kits model-building journey. Your success in crafting a detailed and visually appealing model can greatly depend on the quality and variety of tools you use. Buying essential tools will streamline the process and improve project results. You should aim to equip yourself with basic tools that provide functionality and precision, forming a solid foundation for your modeling endeavors.
Basic tools for building
Some of the basic tools you will need include a sharp hobby knife for precise cutting, a set of tweezers to handle small parts, and a quality cutting mat to protect your work surface. A useful pair of scissors can also be helpful for the initial stages of the build. Additionally, a file or sandpaper will enable you to smooth out any rough edges, ensuring that your pieces fit together perfectly. By having these fundamental tools on hand, you can ensure a more enjoyable and successful building experience.
Recommended materials and supplies
Materials play a vital role in the model-building process, as they affect both the structural integrity and appearance of your finished creation. To securely bond the pieces of your model together, use high-quality plastic cement. You may also want to consider water-based paints and brushes for painting your model, which will allow you to add intricate details and enhance the overall look. Additionally, a primer can be useful for achieving a smoother finish and better adhesion of paint to the plastic surfaces.
Materials should also include tools for weathering and detailing your model, such as weathering powders or washes that can give it depth and realism. You may find that additional supplies like decals, pigments, and various adhesives can further elevate your project. Set up a well-stocked workspace with these recommended materials to successfully create a model you can be proud of.
Preparation and planning
Despite the excitement of starting your first model kit, taking the time to prepare and plan will significantly enhance your building experience. Before stepping into physical assembly, you should gather all necessary materials, familiarize yourself with the different components, and set yourself up for success. This initial phase is not just about assembling parts; it’s about creating a comfortable and organized environment where you can focus your creativity and attention on the task at hand.
Read the instructions thoroughly.
To ensure a smooth and enjoyable building process, it is crucial to read the instructions that come with your kit thoroughly. These guidelines provide comprehensive insights into every stage of the assembly process, detailing the parts and their intended fitment. By familiarizing yourself with each stage outlined in the manual, you will effectively avoid common pitfalls, such as incorrectly attaching components or missing key steps that could hinder your progress.
Organizing Your Workspace
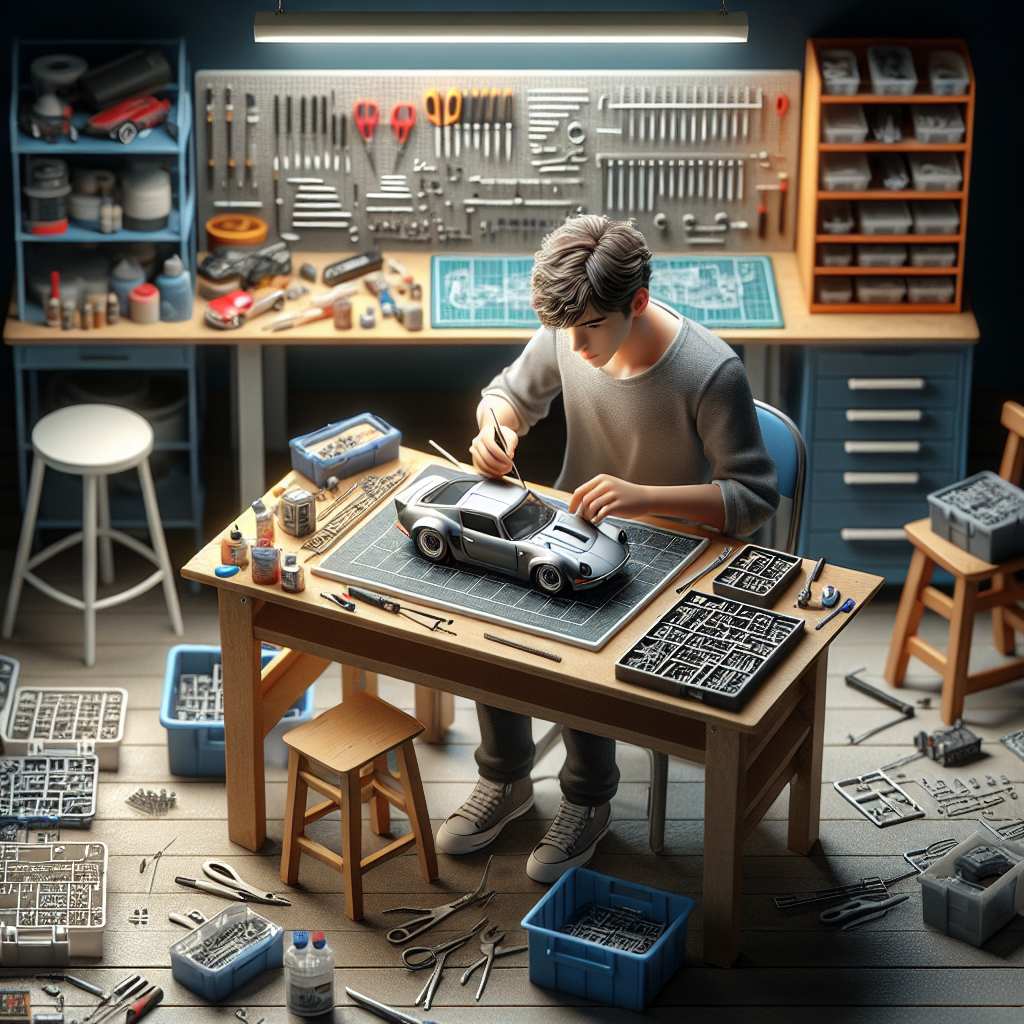
Reading the instructions is just one part of the preparation process—you also need to create a suitable workspace. A well-organized area will help you keep track of your tools and pieces, allowing you to concentrate on building rather than searching for misplaced components. Clear off your workbench or table, ensuring that you have ample space to spread out materials. Utilize containers or trays to separate small parts, and have your tools at hand, including scissors, hobby knives, and adhesives, so they’re ready for use.

Organizing your workspace not only promotes efficiency but also enhances your overall enjoyment of the building process. When your environment is tidy and arranged, you can dedicate your full attention to the task without distractions. Set aside a specific area for your project, and consider various lighting options to ensure you can see the details clearly. If possible, try to limit interruptions during your plastic kits modeling sessions to allow for focused creativity and productive assembly time.
Building Techniques
Keep in mind that mastering plastic kits building techniques will significantly enhance your model-making experience. Your initial focus should be on developing a solid assembly process. Begin by meticulously reading through the instruction manual that comes with your plastic kit; it’s your roadmap for a successful build. Take your time with each step, and ensure that you have the right tools at hand, such as a hobby knife, sprue cutters, and tweezers. Familiarizing yourself with the components will help you visualize the assembly and avoid errors.
Assembly Tips for Beginners
For those new to this plastic kits hobby, there are a few assembly tips you should consider to make the process smoother and more enjoyable.
- Work in a well-lit area to clearly see the details and parts.
- Use a cutting mat to protect your surfaces while cutting parts from the sprue.
- Organize your parts to avoid confusion later in the assembly process.
- Employ a consistent adhesive application method; small amounts are often more effective.
- Take breaks during long sessions to prevent fatigue and maintain focus.
Knowing these assembly tips will set a firm foundation for your building journey, allowing you to concentrate on crafting your model with precision and enjoyment.
Painting and detailing techniques
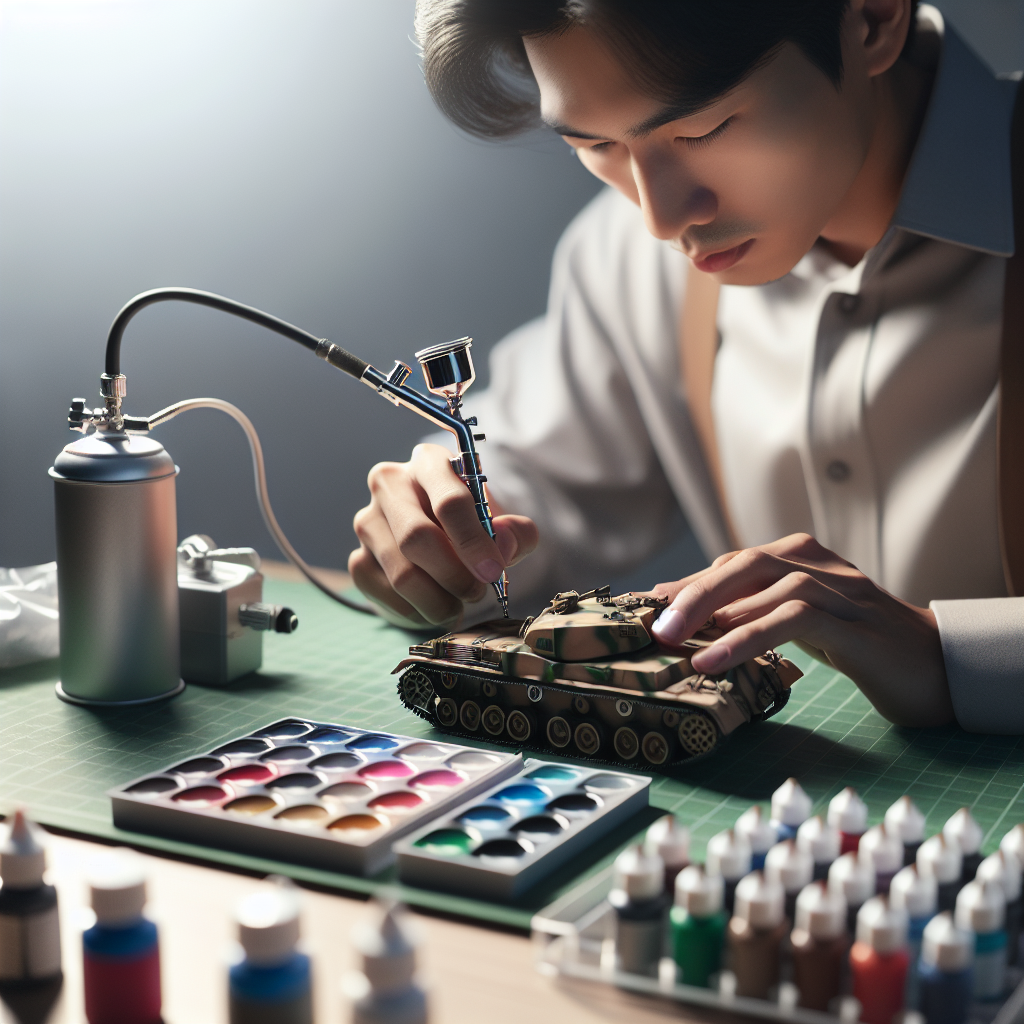
Painting is a significant aspect of building model kits, as it brings your creation to life. Before you start, ensure that your workspace is clean and organized, as this will help you maintain a tidy project environment. Selecting the right type of paint is important; consider whether you prefer acrylics or enamels based on their application characteristics and drying times. Always apply a primer coat; this improves paint adhesion and enhances the final finish. You can use an airbrush for a smooth, even coat or a paintbrush for detailed areas—choose what’s most comfortable for you.
The detailing phase is just as important as painting, allowing you to add personality and realism to your model. Techniques such as dry brushing can help highlight raised details, while washes will bring out shadows in recessed areas. Adding decals or custom paint jobs can also enhance authenticity. Experimenting with various techniques and materials will expand your skills and ultimately improve your outcomes. As you progress, you will find your unique style that reflects your vision for the model.

Common Challenges and Solutions
Now that you’ve launched on your journey into the world of plastic kits model building, it’s important to recognize that challenges may arise. This realization will help you stay prepared and focused on how to overcome them. By acknowledging potential obstacles early on, you can transform your project into a more rewarding experience while enhancing your skills along the way.
Identifying Potential Challenges
Potential challenges in building plastic kits often include misaligned parts, paint imperfections, and difficulties in achieving the desired level of detail. You may also encounter issues such as unclear instructions or insufficient materials in your kit. Understanding these challenges upfront allows you to strategize and adopt proactive measures to mitigate them as you progress through your project.
Troubleshooting Tips
Potential solutions to these common issues can enhance the experience and bring your vision to life. Start by reviewing the instructions thoroughly before you begin assembling your model, ensuring you fully understand each step. If you find that parts don’t fit as expected, consider using a small file or sandpaper to adjust edges for a snug fit. If you encounter paint issues, such as pooling or uneven color, thin your paint and apply multiple light coats for smoother coverage. You can also use masking tape to create clean lines and avoid unwanted overspray.
- Use the right tools, such as precision cutters and tweezers, to handle small parts effectively.
- Invest in good-quality paints and brushes tailored for plastic models.
- Store your model in a clean, well-lit workspace to avoid accidents or loss of parts.
To further assist you in overcoming any hurdles, it’s helpful to remain calm and patient throughout the process. Engaging with fellow hobbyists in forums, social media groups, or local clubs can provide insight and diverse perspectives on handling common problems. Sharing experiences can foster a sense of community while also offering tips that may work better for you. Consider documenting your progress to identify patterns in your work, letting you learn and adapt quickly.
- Keep a dedicated toolbox for your model-building supplies to stay organized.
- Practice on lower-quality kits before investing time in more complex models.
- Seek out tutorial videos or guides that demonstrate specific techniques.
After you incorporate these tips and strategies, you’ll likely find that the journey of building your plastic kits becomes smoother and more enjoyable, paving the way for continuous improvement in your crafting skills.
Advanced Tips for Experienced Builders
Many plastic kits builders reach a point where they want to take their skills to the next level. To elevate your modeling projects, consider implementing these advanced techniques:
- Experiment with different types of adhesives for specific materials.
- Incorporate lighting into your models for dynamic displays.
- Utilize photo-etching for intricate details and realism.
- Practice airbrushing for a smoother and more professional paint application.
- Join a community or club for feedback and sharing your work.
To help you navigate some of the more intricate aspects of advanced building, here’s a comparison of techniques and tools that can enhance your modeling experience:
| Technique/Tool | Description |
|---|---|
| Photo-Etching | We use thin metal parts as a method to add fine details. |
| Decal Application | We utilize water-slide decals to create authentic markings and insignia. |
| Airbrushing | We use a painting technique that ensures uniform coats and fades. |
| Lighting Elements | Incorporating LEDs for realistic lighting effects. |
Enhancing detail with aftermarket parts
Little details can make a significant difference in your model’s overall appearance. Aftermarket parts provide an excellent opportunity to introduce finer elements that are often missing from standard plastic kits, such as more detailed engine components, custom decals, or specialized accessories. Numerous hobby shops and online retailers sell these parts, designed to fit various kits. When you integrate these aftermarket elements, you not only enhance the visual appeal of your model but also showcase your dedication to creating a stunning piece.
Additionally, using aftermarket parts enables personalization, enabling you to create a truly unique model. The variety available means you can customize every aspect of your build, from choosing the right weapons for a military model to selecting specific interior details for a vehicle. This commitment to detail is what sets expert builders apart from the rest.
Weathering and finishing techniques
Finishing your plastic kits correctly is vital to achieving a realistic look. Weathering techniques can help simulate the passage of time and the effects of the environment on your model. Techniques such as dry brushing, washes, and pastel powders can contribute to creating a worn and aged appearance that conveys a narrative. Take your time to layer these weathering applications, choosing the right colors that match the base you have already established.
As you enhance your plastic kits models with weathering, consider how light and shadow play on surfaces to create depth. Use washing techniques to emphasize panel lines and rivets. Remember to experiment with different materials and finishes to achieve the most authentic effects. The more you practice, the more naturally these techniques will come to you, enriching your models with engaging narratives and impressive aesthetics.
Plastic kits builders who successfully implement weathering techniques find that it takes their projects from simple representations to lifelike recreations. Combining your previous painting skills with weathering should elevate your masterpieces further. Explore various mediums—such as oils, acrylics, and powders—to discover which methods you enjoy using most and fit your style best. Your persistence and attention to detail will surely pay off as you witness your skills transform over time.
To wrap up
Now that you have a clear understanding of how to start building models from plastic kits, it’s time to gather your materials and examine your project. Start by choosing a kit that piques your interest and aligns with your skill level. As you assemble the pieces, take your time to carefully read the instructions and pay attention to the details. Organize your workspace to facilitate the easy identification of the tools and parts required for the build. Don’t hesitate to consult online resources or tutorials if you find yourself struggling with any specific aspects of the process.
As you gain experience, you can experiment with different techniques, such as painting and weathering, to enhance your plastic kits models. With each new project, you’ll develop your skills and discover your own preferences in modeling. Enjoy the process and don’t rush; the satisfaction of creating something unique with your own hands is immensely rewarding. With patience and practice, your confidence will grow, allowing you to take on more complex plastic kits and techniques. Happy building!


